|
|

楼主 |
发表于 2013-7-25 22:41:14
|
显示全部楼层
本帖最后由 librae8226 于 2013-7-25 22:42 编辑
抱歉,好久没来看过了。
这些年在一家芯片公司工作,环境一直是linux,包括自己的机器和公司服务器,所以几乎不会用到windows,除了打实况 :P
关于stm32的开发,详细的方法可以参考我们的一个开源项目:
https://github.com/LeafGrass/ousia
这个项目里采用 linux host 作为开发环境,有完整的 build system,可以方便地添加/删减模块。
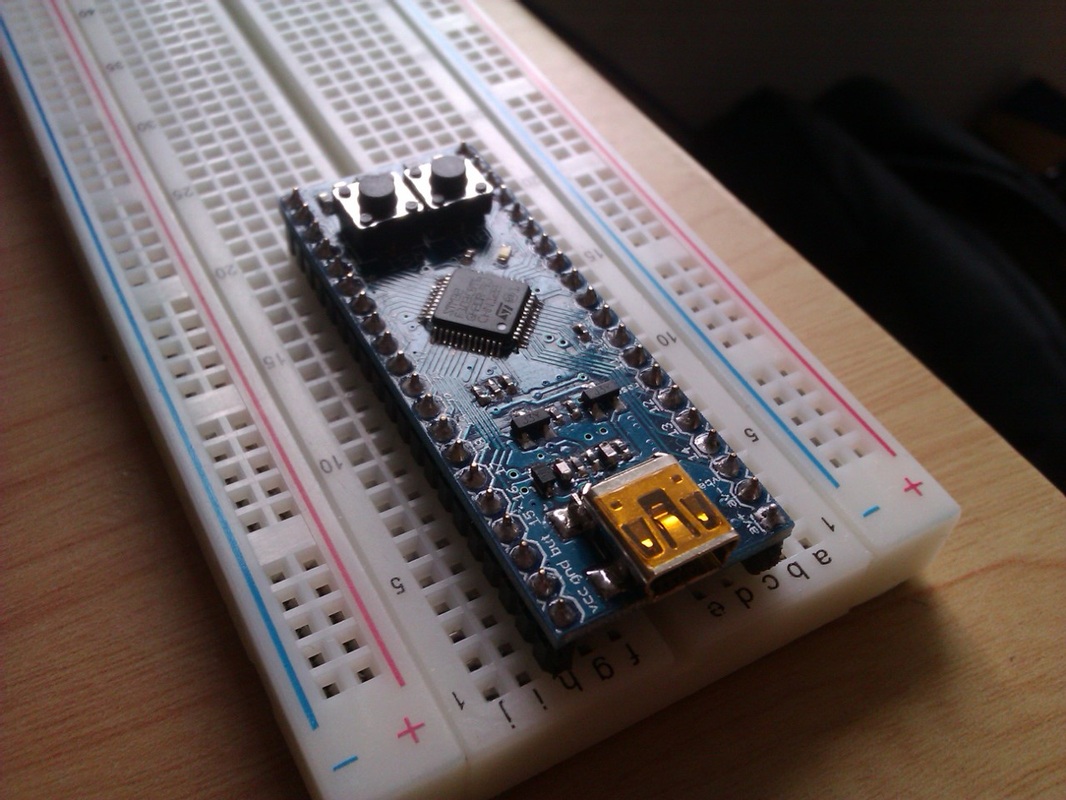
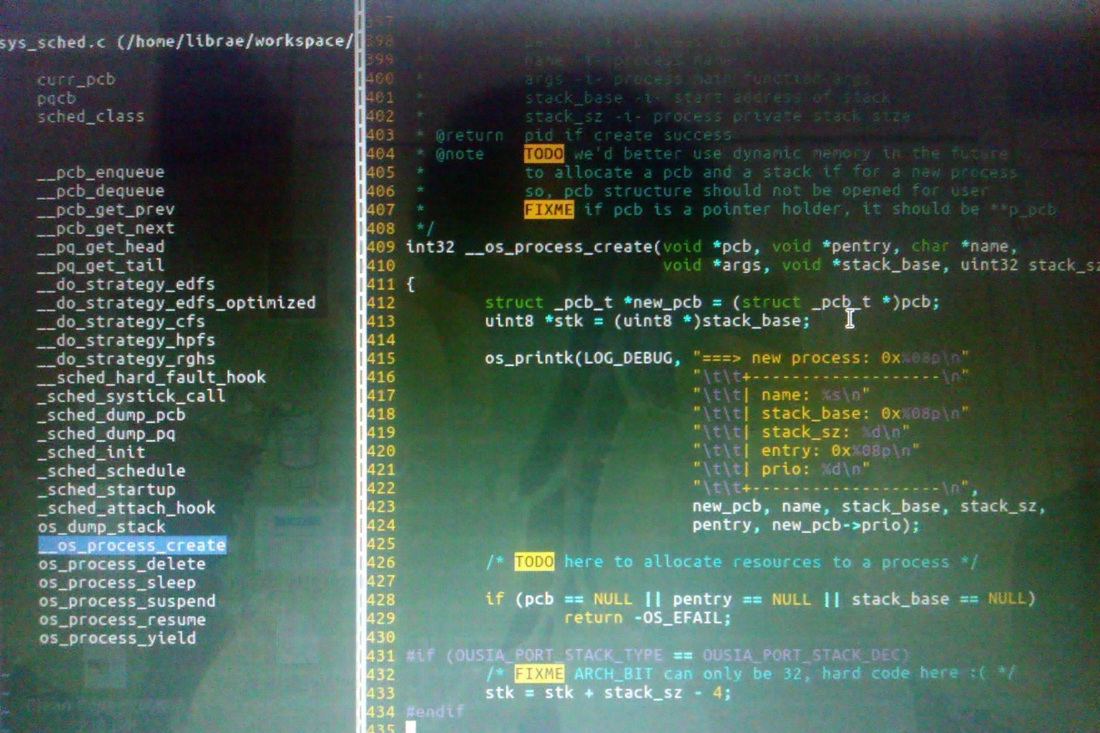
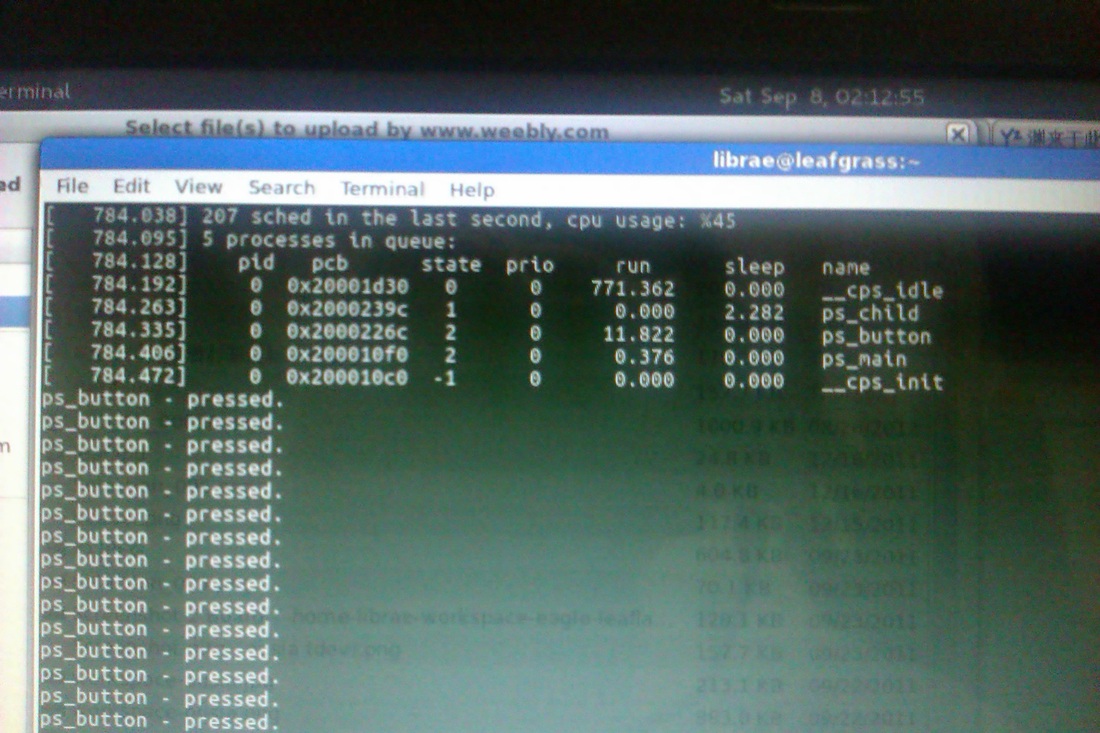
实现的是一个极其简化的操作系统,有最笨的调度和最简单的内存“管理”,最初就在stm32上进行开发成型的。
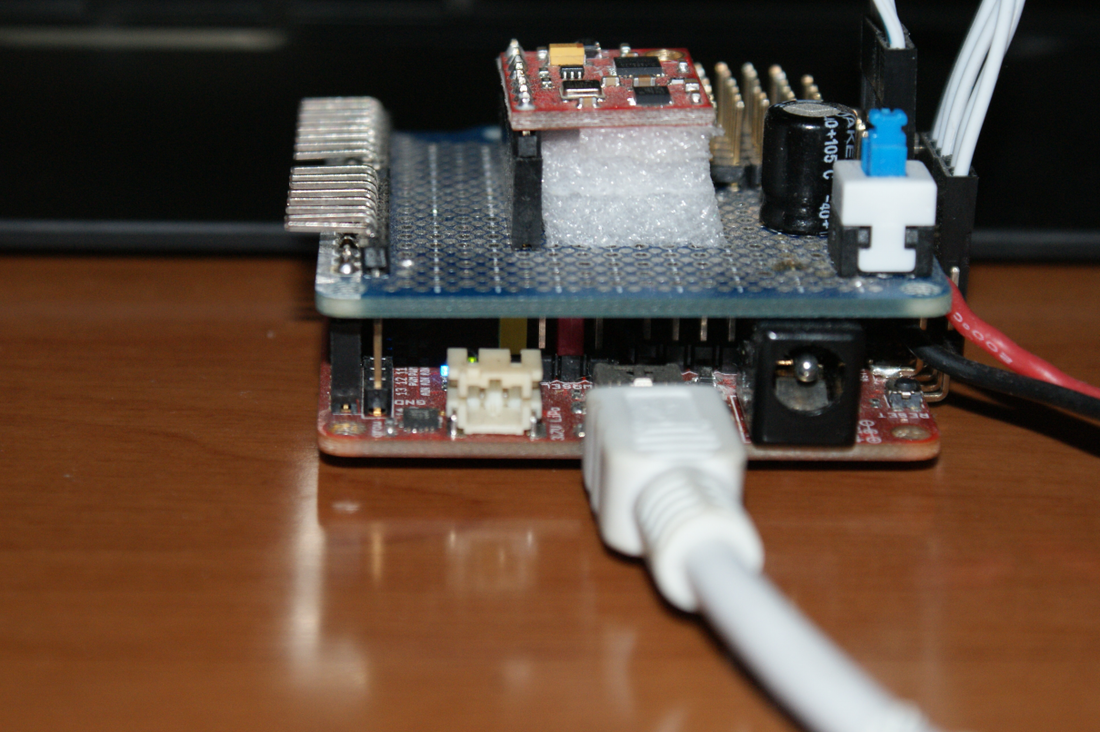
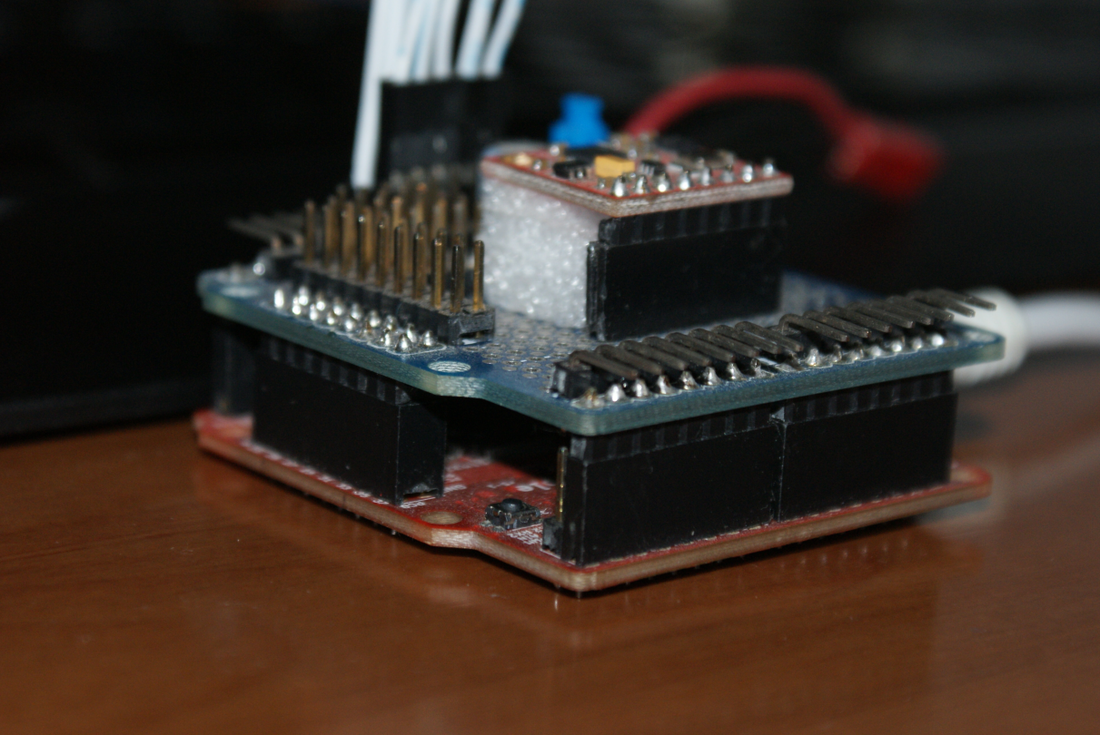
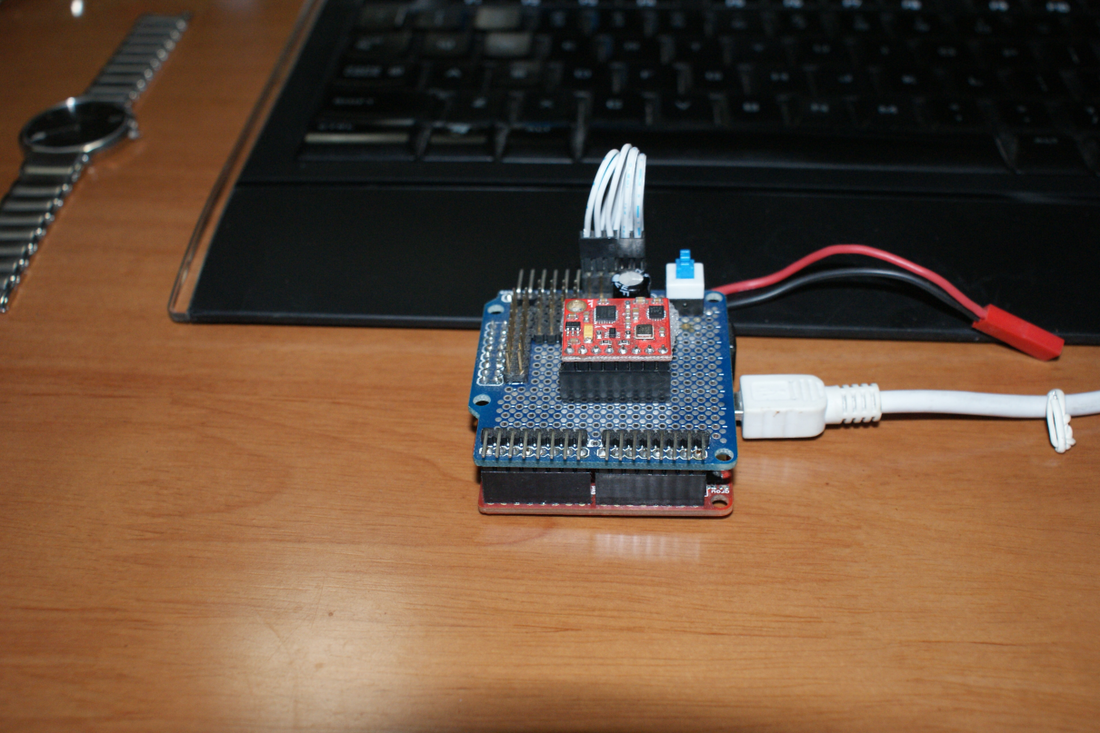
整个系统连上USB就可以玩了,类似arduino,不需要其它调试设备,只有第一次使用的时候需要烧写一遍bootloader。因此开发也变得非常方便。
相信对于初级阶段的学习非常合适。
有需要的朋友可以随便拿去用,pitolan大大曾教我们饮水思源,非常乐意帮助后来的同学,有问可以直接邮件联系我:
我的论坛名字@gmail点com
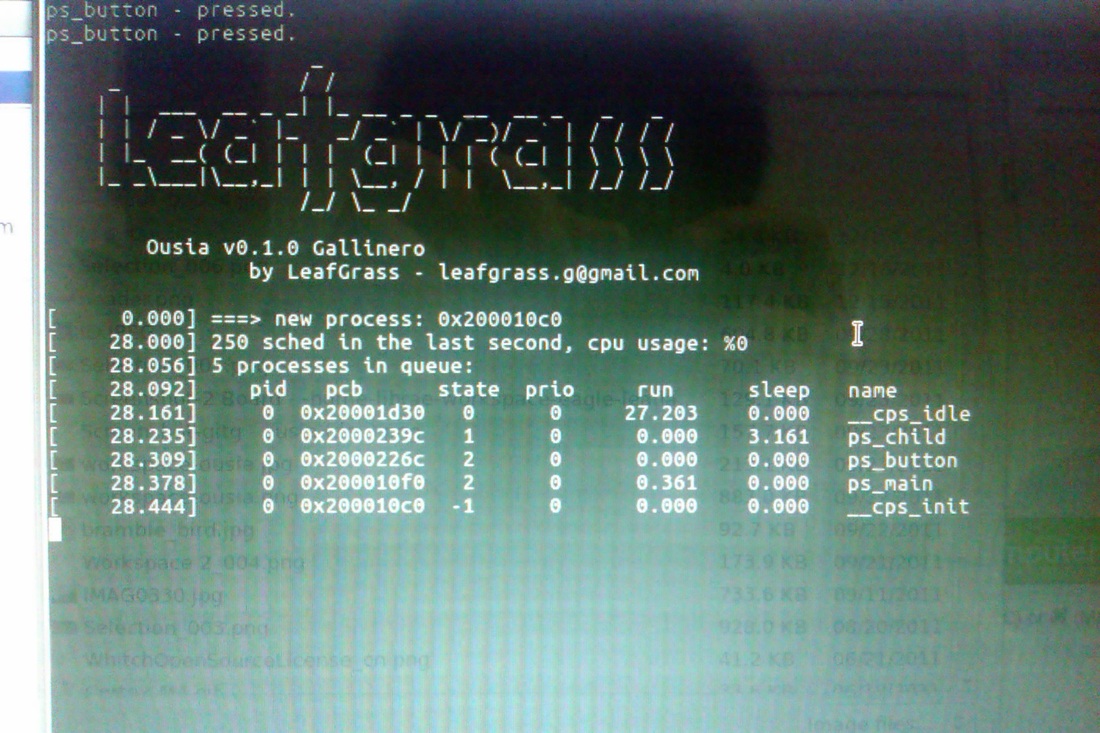
这里把 README 内容贴出来:- Ousia
- =======================
- COPYRIGHT (C) LEAFGRASS
- Introduction
- ------------
- "Ousia" is picked from Greek.
- Mainly intend to represent the essence of Real-Time Theory.
- Developed following K-I-S-S principle.
- Source Tree Architecture
- ------------------------
- * core/
- Ousia core routines.
- * doc/
- Complete documentation of Ousia.
- * driver/
- Different kinds of device drivers based on Ousia.
- They are all configurable.
- * framework/
- Framework based on Ousia. Such as shell, vfs, etc.
- They are scalable and configurable, either.
- * include/
- Header files of main routines of Ousia.
- * platform/
- Chip and board specific code, e.g. low-level library.
- Ousia porting code are also placed here.
- * project/
- Project source code. Include several sample project instances.
- * script/
- Useful scripts used while Ousia developing.
- * support/
- Basic supporting stuffs for Ousia developing and building.
- Useful template files are placed here, such as porting code template.
- How to Start for Fresh New Environment
- --------------------------------------
- - Install toolchain
- - Make
- For a general purpose, these steps are enough, but there are some more
- steps needs to do for each platform.
- As for stm32 on linux host, we use dfu/serial/jtag to upload firmware,
- setup like below:
- - Install Codesourcery toolchain. (e.g. arm-2011.03-42-arm-none-eabi)
- - Install dfu-util/pyserial/openocd (it's up to your preference).
- Ps: In fedora or ubuntu, yum/apt-get install them is ok.
- - Resolve usb or serial access problems.
- (e.g. copy ousia/support/dfu/45-maple.rules to /etc/udev/rules.d/)
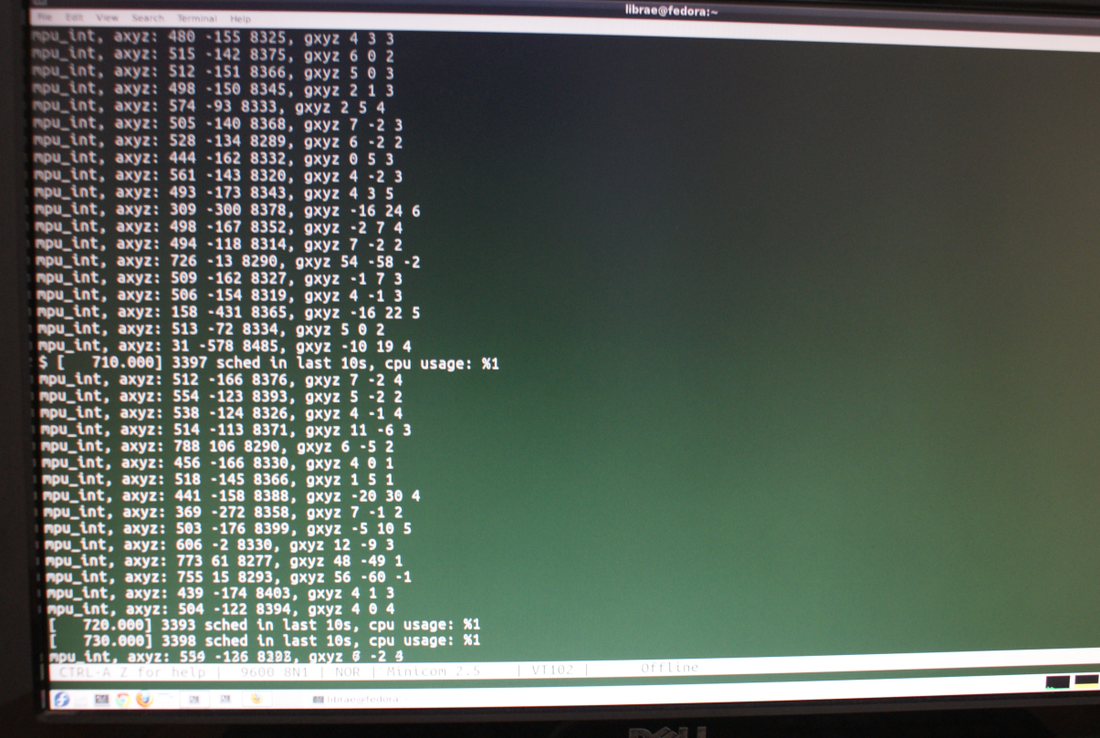
- - Install minicom for console print if you want to debug with uart.
- Ps: Default port is /dev/ttyACMx
- - Do 'make' and 'make install'.
- Create User Project Steps
- -------------------------
- - Create a directory named PROJECT_NAME in folder "project".
- - Add user source code.
- - Create a file rules.mk to specify source code related rules for makefile.
- - Update TARGET_PLATFORM and PROJECT_NAME in main Makefile, then make.
- Ps: Refer to existing projects for further detailed information.
- Core Developing Steps
- ---------------------
- - Choose or create a branch of yourself to work on.
- - Update source code, include those version related strings.
- - Modify related Makefiles and configuration files.
- - Build then do some testing on this branch.
- - Commit it.
- - Tag a new one if a new version is commited.
- - Push this branch to remote repo.
- - If this is a release version, update Ousia Release Notes.
- Porting Steps
- -------------
- - Create a directory named PLATFORM_NAME in folder "platform", then enter it.
- - Create three files: rules.mk config.mk target.mk.
- @rules.mk: makefile source code related rules
- @config.mk: parameters or flags for toolchains and environment
- @target.mk: rules for building target
- - Create a directory named "port" there then create three files in it.
- @ousia_cfg.h: os scalability related configurations
- @ousia_port.h: header of porting code
- @ousia_port.c: implentation of porting
- - Create other porting related stuffs, such as linker scripts, if necessary.
- - Update TARGET_PLATFORM and PROJECT_NAME in main Makefile, then make.
- Ps: If modified porting related code, should not edit directly in "core/port",
- do that in specific platform directory instead, e.g. "platform/stm32/port".
- Makefile will copy them into "core/port" automatically depend on specific cpu
- types.
- Build A Different Platform
- --------------------------
- Only modify the header TODO in root Makefile
- - Assign specific TARGET_PLATFORM and PROJECT_NAME
- Download Code to Target Chip
- ----------------------------
- - Modify related User Customization Items in Makefile in source tree.
- For stm32, you need to decide which MEMORY_TARGET to use:
- jtag, flash, or ram.
- - Do proper operation on hardware. (i.e. change boot jumper or reset or sth.)
- - Then type 'make install' and it will do everything for you.
- Ps: For stm32, there may be a bootloader, 'make bootloader' will download
- bootloader code to chip via serial. And for simulation on x86, no code
- downloading procedure is needed. See Makefile for detailed information.
- Acknowledgments
- ---------------
- Parts of make system and libmaple stm32 low-level code are borrowed from libmaple.
- Thanks to their excellent works! - http://leaflabs.com
- Many code are originally come or inspired from Nuttx, a perfect and stable operating system.
- Also great appreciations to the contributors! - http://nuttx.org

 |
|


 发表于 2010-8-7 11:11:54


